Loot To Forge Power Training Guide
Raise temporary Power efficiently with hub training, better Rebirth dummies, and clean stop points before dungeon pushes.
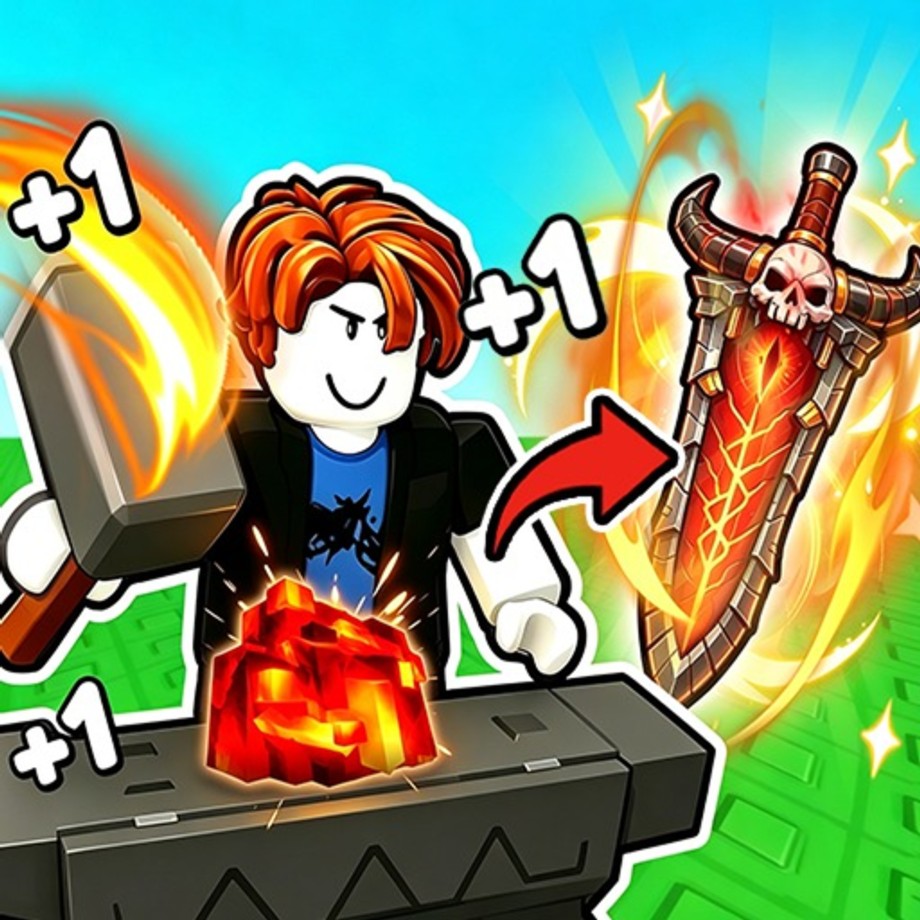
Power training is the throttle of +1 Loot To Forge. Everything else—linear dungeon clears, Frost Tower attempts, forge plans, and Rebirth timing—depends on how fast you turn hub swings into a Power number that keeps hits-to-kill honest. This guide explains hub training versus the auto-train area, how left mouse button practice works, why Rebirth unlocks better dummies, when to stop training and enter the dungeon, and how to avoid the expensive habit of overtraining past a full Rebirth bar.
New players should still skim getting started for the full first-session map and controls for the raw key list. Come here when you want training decisions, not button names.
Why temporary Power still matters
Temporary Power is the spending resource for the current climb. It decides whether dungeon packs die in two hits or eight. Forged weapons and armor multiply what that Power can do, and Rebirth converts filled bars into permanent gain rate so the next training block is shorter. Players who ignore training and only stare at Legendary crafts stall on stages that a ten-minute dummy session would have unlocked.
Training does not replace forging. A strong Rare Katana with pathetic Power still feels sticky. Power without rarity also plateaus. The win condition is short, intentional training blocks tied to a stage goal, then ores converted through the forge, then another training block under better multipliers.
Hub training with LMB
In the hub, left mouse button attacks on training targets raise Power. Walk to the dummies or training props, face them, and swing. This is active play: you see the number climb, you can glance at the Rebirth percentage, and you can stop the moment packs in your head would die fast enough.
Manual LMB training is ideal when:
- You just Rebirthed and need a fast, attentive rebuild.
- You are fine-tuning to a specific stage threshold.
- You want to watch the Rebirth bar so you never sit ignored at 100%.
- You are between menu actions and can productively click for a minute.
It is weaker when you are rewriting forge plans, sorting a full bag, or watching a second screen—those moments belong to auto-training so Power still moves while your attention is elsewhere.
Auto-train area versus focused clicking
The auto-train area exists so Power can rise without constant clicking. Stand where the game allows hands-off gains, then handle forge menus, enchant spends, or backpack upgrades. Auto-train is not “worse Power”; it is a different attention budget. Efficient players mix both: auto-train while the bag is being sorted, LMB burst when they want a precise threshold before a dungeon door.
Do not AFK in auto-train for twenty minutes past a ready Rebirth. The area is a tool for parallel progress, not a reason to ignore the prestige button on the left side of the UI. Permanent multipliers from the rebirth guide beat a vanity temporary Power spike every time.
Rebirth dummy unlocks
Each timely Rebirth improves long-term training. Permanent Power gain rate rises, Coin bonuses improve the economy that funds enchants and bags, and better dummies unlock along the Rebirth path. Those dummies exist so post-reset rebuilds stay short. If you keep delaying Rebirth to protect a big Power number, you also delay access to the training tools that make the next climb trivial.
Practical rule: when Rebirth hits 100%, bank it, walk to the best dummy you now have, and retrain immediately. The scary Power drop is temporary; the better dummy and gain rate are account upgrades. Players who internalize that stop fearing resets and start measuring sessions in Rebirths completed, not peak temporary Power screenshots.
When to stop training and enter the dungeon
Training has a stop condition: your target stage should clear near the four-hit comfort rule described in the dungeon guide. The moment early packs on that stage die quickly under auto-attack, leave the hub and farm ores. Extra hub swings after that point have a weak return compared with filling a bag, forging, and climbing the Rebirth bar with real loot income.
Use this decision tree:
- Pick a target stage or Frost Tower attempt.
- Train until you believe hits-to-kill will stay near four or better.
- Enter with empty bag space and your best forged loadout.
- If packs still drag past four hits, retreat and train or forge—do not ego the hallway.
- If clears are crisp, stay until the bag is full of useful ores, then extract.
Stopping on time is a skill. Overtraining “just to be safe” often means you are farming hub Power that a single Rare craft or backpack upgrade would have replaced more efficiently.
Avoid overtraining past 100% Rebirth
The worst training mistake is continuing a long LMB or auto-train session while Rebirth already sits at 100%. Temporary Power above the threshold still resets. Minutes spent past the bar are minutes you are not earning under the next permanent Power gain and Coin multipliers. Finish the immediate craft or bag sell if you are mid-click, then Rebirth, then train again on improved dummies.
“ASAP at 100%” does not mean canceling a forge animation you already paid for. It means do not plan another ten-minute training marathon or vanity Power push once the bar is full. Bank the multiplier, rebuild faster than before, and let the dungeon fund the next cycle.
Training inside the wider loop
A clean loop looks like this:
- Check Rebirth; reset at 100% before long farms.
- Train on the best available dummy (LMB or auto-train as attention allows).
- Enter the dungeon; retreat if kills exceed roughly four hits.
- Forge ores into Katana, Greatsword, or armor Power; see how to forge.
- Enchant and upgrade capacity with Coins via enchant and upgrades.
- Return to training only as long as the next stage needs it.
Community pacing checklists live in progression tips and the Players Hub. Patch days can change enemy curves—skim latest update notes before assuming last week’s training time still maps to the same stage numbers.
Session templates
Five-minute threshold tune
Rebirth if ready → LMB on the best dummy → enter one dungeon segment → retreat or extract → stop. Perfect when you only need a small Power bump.
Twenty-minute growth block
Auto-train while sorting the bag and opening forge menus → short LMB finish → clear until the four-hit rule fails or the bag fills → craft and enchant → Rebirth if the bar completed during the farm.
Post-Rebirth recovery
Ignore nostalgia for the old Power number. Hit the new dummy immediately, reclaim early stages, and only then plan Frost Tower or deep hallway pushes. Recovery speed is the point of Rebirth training upgrades.
Common training mistakes
- Clicking forever in the hub while Rebirth is already full.
- Entering the dungeon underleveled, then blaming the stage instead of a missing training block.
- Training past the four-hit comfort zone on your farm stage instead of converting ores.
- Ignoring better dummies after Rebirth and standing on starter props out of habit.
- Treating auto-train as permission to AFK through a prestige you should have claimed.
Avoid those five and Power training becomes a short, boring, highly profitable chore—which is exactly what an incremental sim wants it to be.
Related pages
Train with a stopwatch in your head. Raise Power until the next room is honest, then go collect ores. Bank every 100% Rebirth. That discipline outruns any single lucky craft.
Frequently Asked Questions
Quick answers to the most common Loot To Forge questions.
How do I train Power in +1 Loot To Forge?
In the hub, use left mouse button attacks on training targets or stand in the auto-train area for hands-off gains. Both raise temporary Power for dungeon clears.
Should I use LMB training or auto-train?
Use LMB when you want a precise threshold and can watch the Rebirth bar. Use auto-train when you are sorting menus, forging, or multitasking.
When should I stop training and enter the dungeon?
Stop when your target stage should clear near the four-hit comfort rule. Extra hub swings after that usually return less than a full ore run.
Why do Rebirths improve training?
Rebirth grants permanent Power gain rate, Coin bonuses, and better dummies over time, so each post-reset rebuild is shorter than the last.
Is it bad to train past 100% Rebirth?
Yes. Temporary Power above the threshold still resets. Bank the Rebirth ASAP, then retrain under the new multipliers instead of overtraining.