Getting Started in +1 Loot To Forge
Train Power, clear stages, forge gear, and Rebirth without wasting your first sessions.
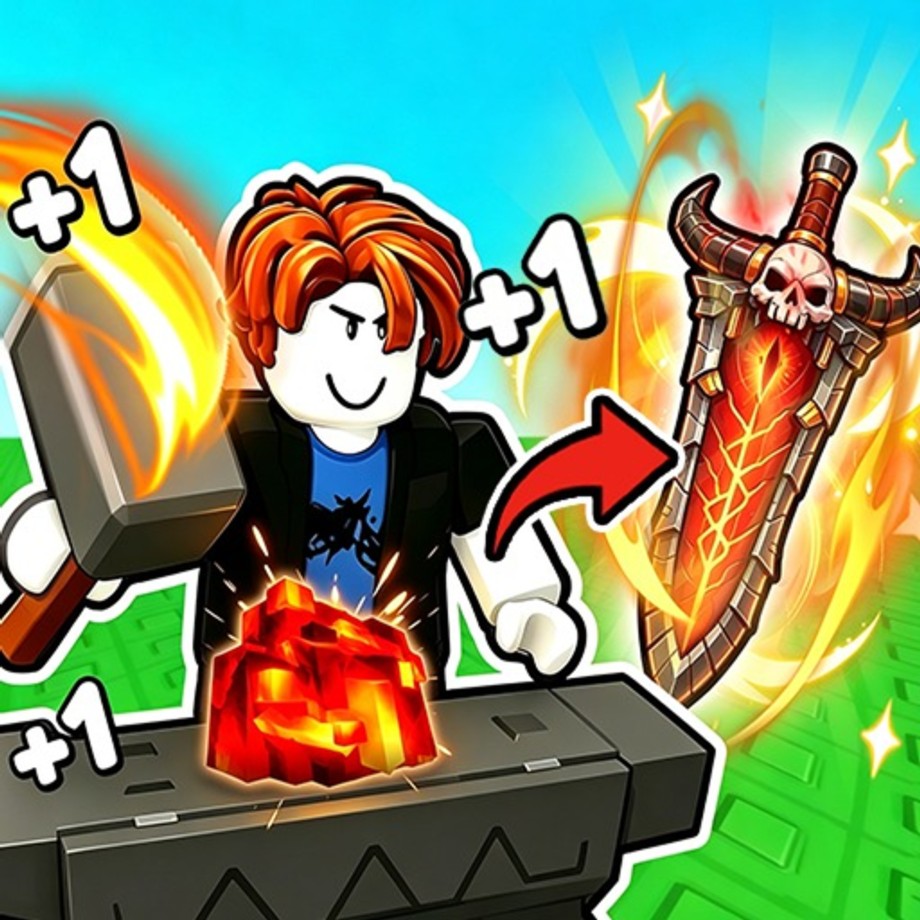
+1 Loot To Forge is a free incremental dungeon simulator on Roblox by Good Bro Studio. You train Power in the hub, push a linear dungeon of scaling enemies, pick up ores and loot, forge weapons and armor, spend Coins on enchants and backpack upgrades, then Rebirth for permanent bonuses. This guide covers the full early loop so you do not stall on weak gear or overtrain past a ready Rebirth.
If you only want one path for your first hour: train enough Power to clear early stages, forge instead of selling every ore, expand bag space when you start leaving loot behind, and press Rebirth the moment the bar hits 100%. Deeper pages on this wiki cover how to forge, the rebirth guide, dungeon pacing, controls, and enchants plus upgrades. Claim any live promo rewards on the codes page, then return here for the core loop.
What the game is asking you to do
Every session revolves around four resources: Power, loot capacity, forge materials, and Coins. Power decides how many hits you need to kill dungeon enemies. Capacity decides how much ore and gear you can bring back. Materials decide what you can forge. Coins fund enchants and quality-of-life upgrades. Ignoring any one of those four creates a soft wall that feels like bad luck when it is usually just inventory or Rebirth timing.
The dungeon is not an open world. Stages sit in a line, and each segment packs stronger enemies than the last. Combat inside the dungeon is largely auto-attack once you are in range, so your real decisions happen before you enter: how much Power you trained, which weapon type you forged, how full your bag already is, and whether a Rebirth is sitting at 100% while you keep grinding for no permanent gain.
First minutes in the hub
Spawn, learn the layout, and find the training options immediately. You can raise Power by attacking training targets with left mouse button in the hub, or by using the auto-training area when you want hands-off gains. Early Power does not need to be perfect; it needs to be high enough that early stage enemies die in a few hits instead of a long slog.
Memorize the core inputs early. WASD moves, Space jumps, E interacts with forge and shop stations, Q fires your skill, and left mouse button is the hub attack used for manual training. A full key list lives on the controls page if you want a printable reference.
Before your first serious dungeon push, open the forge area in the middle of the hub so you know exactly where to dump ores later. Also locate the sell option and the backpack upgrade path. Selling is useful for Coins, but early on forging those ores into a better weapon usually accelerates clears more than a small Coin pile does.
Your first dungeon runs
Enter the dungeon when your Power feels comfortable against the first packs. Stages scale linearly: if a pack takes forever, retreat, train more, forge a better blade, or Rebirth if you are already at the threshold. A practical rule many players use is to retreat when a kill needs more than about four hits. That threshold keeps runs short and prevents filling your bag with junk while you turtle through over-tuned rooms.
While clearing, pick up ores and loot aggressively until capacity becomes the bottleneck. Bag space is a real progression stat in this game. A full backpack mid-run means you either sell surplus later for Coins or leave valuable materials on the floor. Prefer forging early ores into weapons and armor instead of liquidating everything for Coins. You can always sell duplicates once you have a usable loadout.
Auto-attack handles most dungeon damage, so positioning and stage choice matter more than fancy combos. Push as far as your Power allows, then leave with a full bag rather than dying or wasting minutes on enemies that barely move your clear speed. For stage-by-stage habits, Frost Tower notes, and retreat timing, open the dungeon guide.
Forge early, sell selectively
Back in the hub, take ores to the forge. Weapon crafting centers on type and materials. Katana and Greatsword are the headline weapon identities players compare early; skills come from the combination of weapon type and the materials you feed in. Rarity climbs Common, Rare, Epic, then Legendary. Stronger rarity and better materials translate into higher Power contribution and smoother stage clears.
Armor uses its own tab with RNG between helmet and armor outcomes, and solid armor pieces grant Power boosts that stack with your weapon plan. Do not ignore armor because the sword number looks bigger. A modest Power bump from armor can be the difference between a clean four-hit kill and a messy retreat. Step-by-step forge decisions, rarity goals, and material priorities are expanded in how to forge.
After you have a workable weapon and at least one armor piece, spend Coins on enchants and backpack upgrades instead of hoarding. Enchanting improves equipped gear. Backpack upgrades raise how much loot you extract per dungeon visit. Both are covered in enchant and upgrades.
Rebirth is not optional busywork
Watch the Rebirth progress on the left side of the UI. When it reaches 100%, Rebirth as soon as you reasonably can. Rebirth resets current Power but grants permanent Power gain rate, Coin bonuses, and access to better training dummies over time. Overtraining past a ready Rebirth wastes the session: you delay the permanent multiplier that would make the next Power climb faster.
A clean beginner habit is: hit 100%, grab one last useful forge if you are mid-craft, then Rebirth immediately and resume training under the new bonuses. Do not sit at the threshold farming vanity Power that disappears on the next reset anyway. Full timing advice lives in the rebirth guide.
A practical first-session checklist
- Train Power in the hub with LMB or the auto-training area until early packs die quickly.
- Run the dungeon, auto-attack through stages, and leave if kills need more than about four hits.
- Fill the bag with ores and loot; upgrade capacity when you constantly hit the cap.
- Forge weapons and armor before selling everything; sell only surplus after you have a loadout.
- Enchant with Coins and keep pushing stages you can clear efficiently.
- Rebirth at 100% without overtraining past the bar.
- Repeat the loop with better dummies, stronger gear, and higher Coin income.
How this wiki helps after day one
Use the tier list when you start comparing weapon types and rarity goals. Check scripts only if you understand the risks of third-party tools on Roblox. Browse players for community progression angles, and watch updates so patch notes do not invalidate an old habit. Codes change often, so refresh codes before long grinds.
+1 Loot To Forge rewards players who treat Power, forge materials, bag space, and Rebirth timing as one system. If your clears feel slow, ask which of those four is starving. Train or Rebirth for Power rate, forge instead of panic-selling, expand the backpack, then push the next dungeon segment. That loop is the whole early game—and once it clicks, every later stage is the same idea with larger numbers.
Frequently Asked Questions
Quick answers to the most common Loot To Forge questions.
Is +1 Loot To Forge free to play on Roblox?
Yes. Good Bro Studio's +1 Loot To Forge is free to play. You can train, clear dungeons, forge gear, and Rebirth without paying, though optional Roblox purchases may exist like in many experiences.
What should I do first as a beginner?
Train Power in the hub, clear early dungeon stages while auto-attacking, forge ores into weapons and armor instead of selling everything, upgrade your backpack when full, and Rebirth as soon as the bar hits 100%.
Should I sell ores or forge them early on?
Prefer forging early ores into better weapons and armor. Selling surplus for Coins is fine after you have a usable loadout, because Coins fund enchants and upgrades.
When should I Rebirth?
Rebirth as soon as progress reaches 100%. Waiting to overtrain past the threshold delays permanent Power gain rate and Coin bonuses while your current Power still resets.
Where can I find controls and deeper guides?
See the controls page for WASD, Space, E, Q, and LMB. Pair this starter with the forge, rebirth, dungeon, and enchant guides linked throughout this page.